Positive reveal
A narrow ledge of rim shows. It forgives small errors and protects the stone edge from knocks.

Temecula Custom Countertops provides undermount sink cutouts & installation in Temecula, CA and across Riverside County. We cut each opening in our shop to the sink you chose, polish the exposed edge and mount the basin so it carries a full load of water and dishes for years.
Get a free measure or a bid
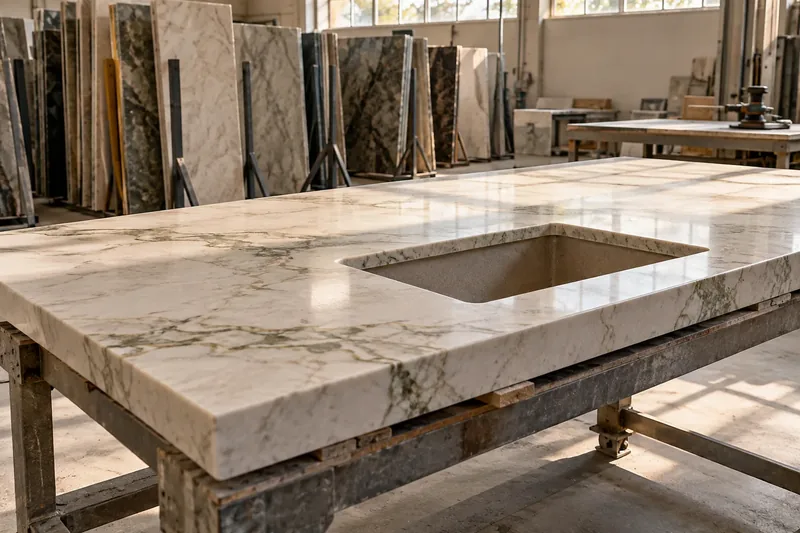
Because an undermount hangs under the stone, the rim of the hole is a finished edge in plain view. A clean radius, a smooth polish and an exact fit are what make the sink look built in. A ragged cut or a wavy line is permanent, because the stone cannot be undone once the saw has passed.
That is why we cut the opening in our shop, with the slab fully supported, and to the sink you actually own. Then the same crew mounts the basin and seals it in your kitchen. We work in Temecula, Fallbrook and French Valley homes, and in commercial kitchens and bars.
How we work
Homeowners get a free measure. Wineries, restaurants, offices and builders get a bid from their drawings.
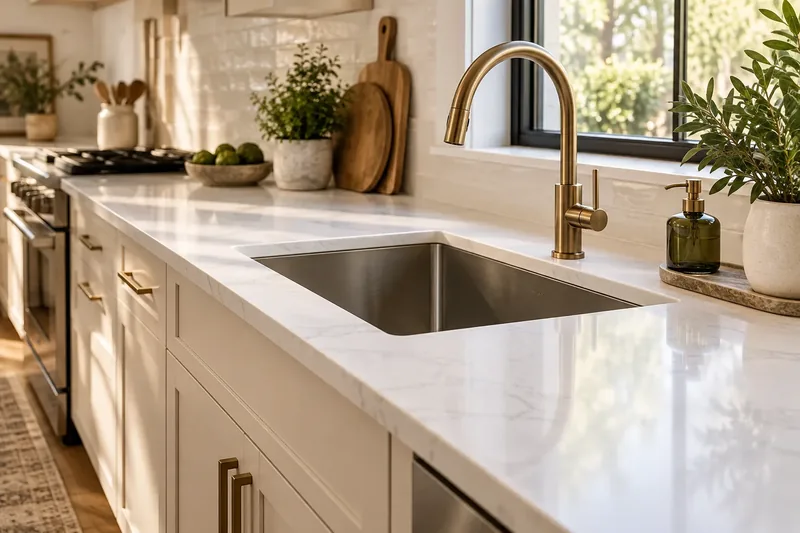
An undermount sink is attached to the underside of the countertop, so the stone edge meets the bowl directly and nothing sits above the surface. A drop-in sink has a rim that rests on top of the counter. Both work, but they ask different things of the stone and of the fabricator.
The undermount look is cleaner and easier to wipe, since crumbs and water can be swept straight over the edge into the basin. There is no rim to trap grime. In return, the opening must be cut and polished to a high standard, because the edge is on show, and the stone around it has to be thick and strong enough to carry the sink.
Undermount sinks work with granite, quartz, quartzite and marble, because those stones are dense enough to hold the load. A very slim or laminated top may need reinforcing, and we raise that before a single cut is made.
Reveal describes the strip of sink rim that stays visible around the opening, and it shapes both the look of the kitchen and how you wipe it down. We lay the sink against the stone at the template so you can judge all three styles with your own eyes, and the saw follows whichever you choose.
A narrow ledge of rim shows. It forgives small errors and protects the stone edge from knocks.
The stone edge and the bowl wall sit in one plane, which gives the tidiest, most contemporary line.
The stone overhangs the bowl slightly. It looks sharp, but crumbs are harder to wipe into the basin.
A square, eased or rounded edge at the opening changes how the sink feels under your hand and how it cleans.
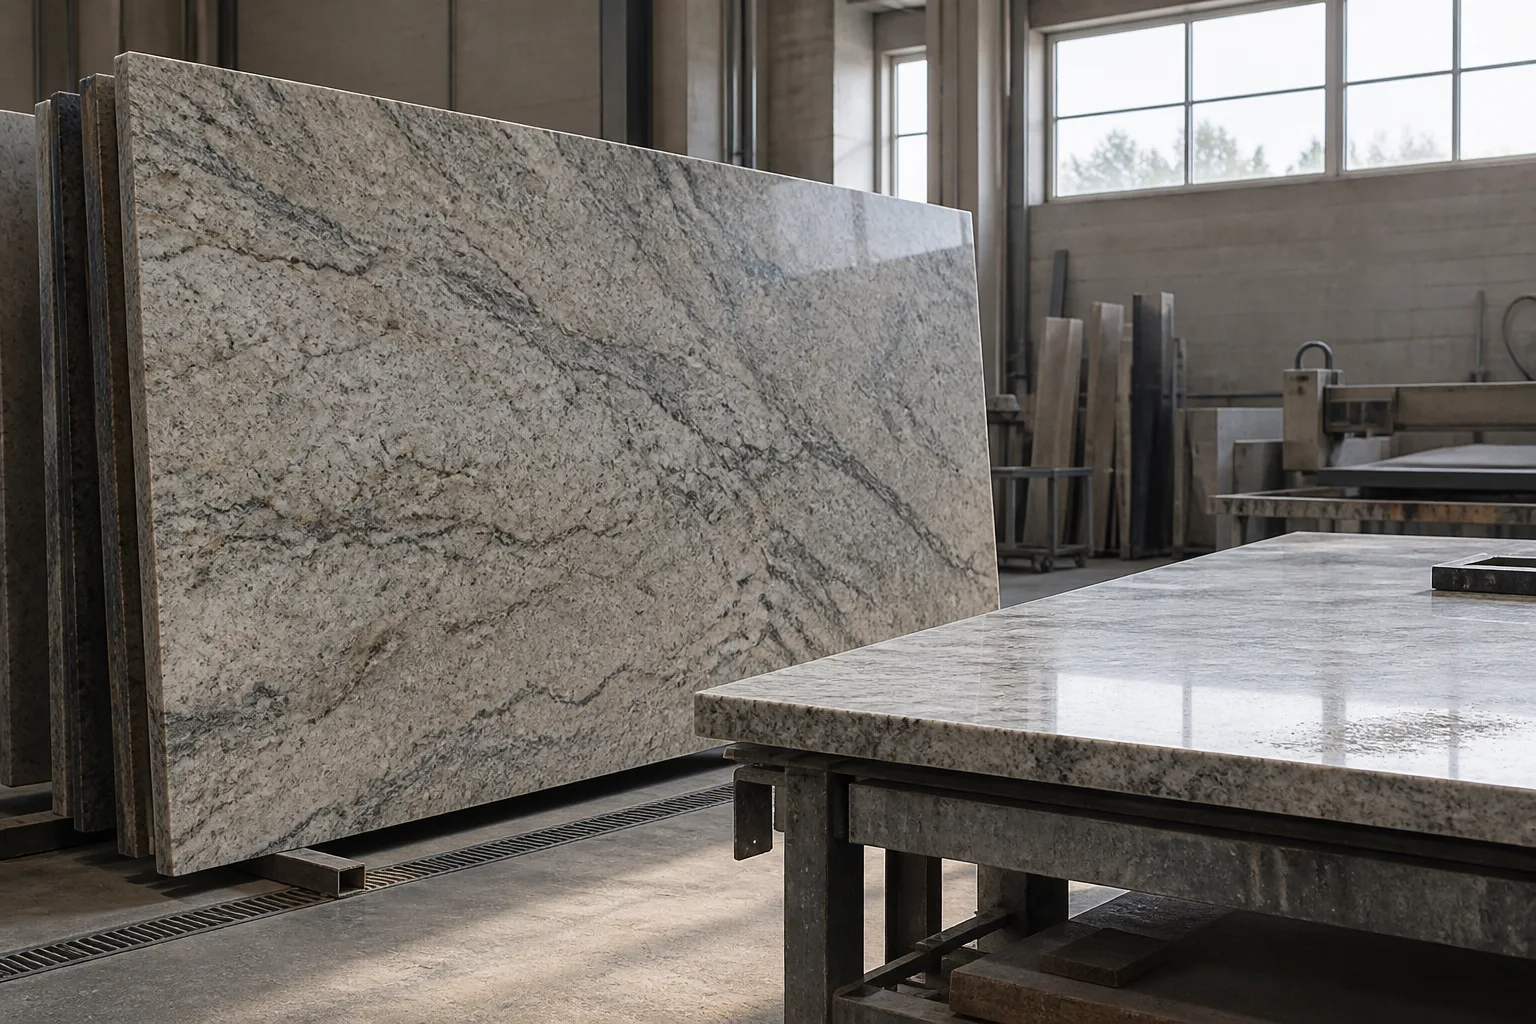
Cutting the sink opening on a workbench produces a better result than cutting it over the cabinets. In the shop the slab lies flat on a rack or table with full support, the saw runs on a guided path, and the water that cools the blade drains away. Stone cut that way gives clean corners and a smooth wall, with little risk of chipping.
Cutting on site, with the stone resting on cabinet tops, risks flex and vibration at exactly the wrong moment. A cut that chips at the edge cannot be hidden, since the edge is visible from above.
After the sawing, we grind and polish the inside wall of the opening, so the reveal looks like the rest of the top. We round the inside corners to a generous radius. A sharp square corner concentrates stress and is where cracks begin, so radiused corners are both better looking and stronger.
For that reason, have the sink on hand, or its model number written down, when we come to measure.
An undermount sink should never hang from sealant alone. Silicone keeps water out of the gap, but it is not a structural bond, and a basin full of water and dishes weighs a lot. We attach the sink with mechanical clips or brackets fixed to the underside of the stone, so the weight is carried by hardware and by the stone itself.
Heavy basins need more. A cast iron sink, a fireclay farmhouse bowl or a large single-bowl stainless unit can call for support rails or a frame in the cabinet, sized to the load. We work that out at the measure, not on install day when everything is already cut.
The perimeter is then sealed with a mould-resistant sealant so water cannot wick between the sink and the stone. This matters most in a house with hard water, and a Temecula sink sees plenty of mineral film around the faucet that keeps the seal line wet. A clean, continuous bead lasts longer than a patched one.
We reconnect the plumbing when that is part of your job, and we run water to check for leaks before we leave.
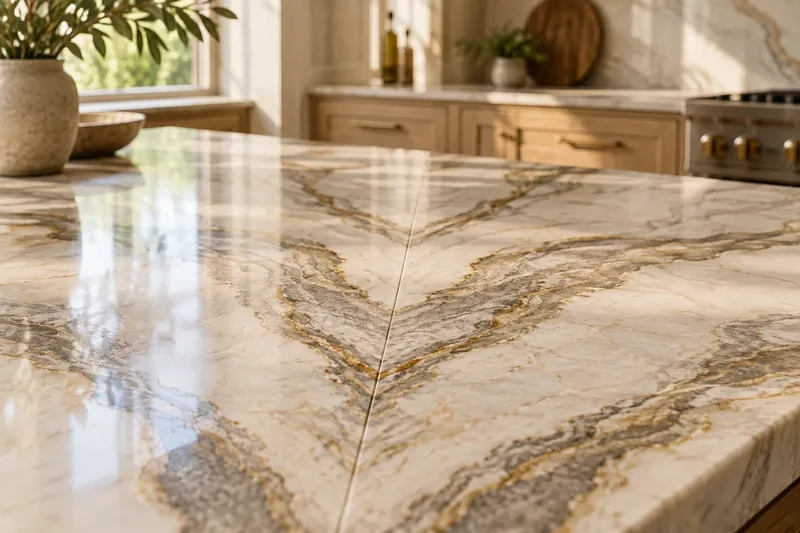
Switching from a drop-in to an undermount is often possible if your stone is whole and thick. The old hole is opened wider, the new edge is polished and the basin goes in from beneath. Many kitchens take a day, and it costs far less than a new top.
We always inspect before we promise. A larger hole close to a hairline crack, a seam or the dishwasher run can leave too little stone to hold together. If the stone cannot take the change safely, we say so, and we would rather turn the job down than crack your counter.
Laminate and thin tiled tops generally cannot take an undermount, since there is no solid edge to polish. In that case a new stone top is the way to get the look, and we can talk through the options.
Pricing for sink work depends on the job, and the numbers below are estimates rather than quotes. Final pricing arrives in writing once we have looked at your sink and counter together.
Several things push a figure up or down. Dense stone takes longer to cut, a large farmhouse sink needs more cabinet work, and a retrofit near a seam needs more care. Access matters too, such as a sink under a window or in a tight pantry.
A free measure is the quickest way to get a real number, because we can see the sink and the stone together.
The edge around an undermount sink takes more water than any other part of the top, so it deserves a little attention. Wipe the rim dry after washing up, and rinse away soap residue, since soap film and mineral deposits collect in the corner.
Natural stone around the sink should be sealed on schedule, and a yearly water test shows when. Check the sealant bead occasionally for gaps or dark spots. If it looks tired, tell us, because resealing a bead is a small job that prevents a bigger one.
The process
Bring the sink, or its model number, and the cutout is made to fit it.
Tell us the sink you have chosen, or the one you want to replace, and the stone it will sit in.
We measure the sink, show you the three reveal options and note the faucet layout.
We saw the opening in our shop, round the corners and polish the exposed edge.
We fix the basin with clips and brackets, seal the perimeter and test for leaks.
Questions
Often you can, provided the stone is thick and free of cracks. We open the hole wider, polish the new face and fit the basin from underneath, after checking for seams that a cut could damage.
An undermount is fixed beneath the stone, so a cloth carries crumbs straight into the bowl. A drop-in rests its rim on the surface. The undermount look depends on a precise, polished opening and real support under the bowl.
Reveal is the amount of sink rim you can see inside the opening. Positive shows a thin ledge, zero is flush and negative overhangs the bowl. We cut whichever you choose.
Yes, when it is fixed correctly. Clips and brackets bonded to the stone carry the weight, and rails or a frame are added for heavy cast iron. Sealant alone is never trusted to hold it.
Ideally yes, or else the precise model name from the box. The manufacturer publishes a cutting template for each basin, and a guessed size leaves a gap or an opening too small.
Granite, quartz, quartzite and marble all work well. Slim or laminated tops can need added support, or may not suit this style, and you hear about it before we cut.
Yes. We drill faucet, soap dispenser and filter holes when we fabricate the top. Tell us the fixtures at the measure so the spacing is right.
Book a free measure. We look at the sink and counter together, then send a written quote.
A free measure for homeowners, and a written bid from drawings for businesses and builders.
Licensed, bonded & insured · License #585047. Calls only, we do not receive text messages.